
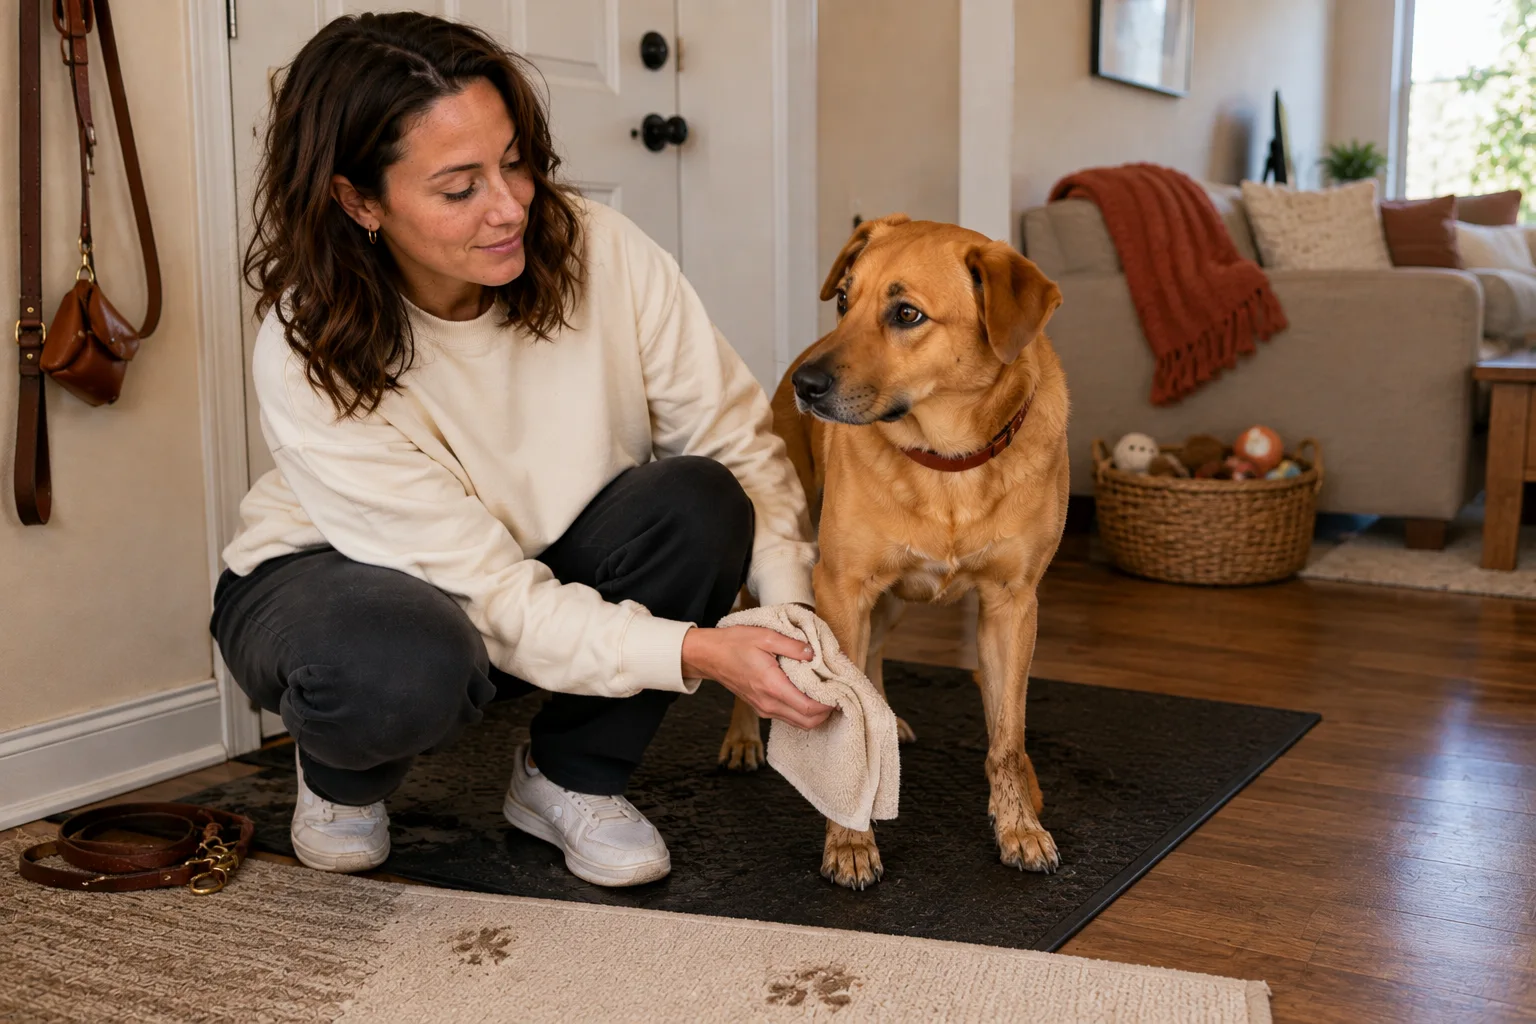
Your dog comes inside with muddy feet, but the moment you reach for a paw, they pull away, freeze, mouth your hand, or scramble across the floor. If you are searching for “dog won't let me wipe paws,” the immediate problem is practical: you need to contain the mess without turning every walk into a struggle.
Start by separating mud management from handling training. For now, create an entry routine that cleans what your dog can comfortably tolerate and protects the rest of the home. Then practice cooperative paw care at a calm time, away from the doorway, one small step at a time.
“Dog won't let me wipe paws”: Start with a health check
A dog may avoid paw handling because it is unfamiliar or frightening. New and rescue dogs might also have previous experiences with forced grooming, sore nails, rough surfaces, or uncomfortable restraint. You may not know their history, and you do not need to guess in order to respond gently.
First, check for signs that the behavior could be related to pain or irritation:
- Limping or placing less weight on one leg
- Repeated licking or chewing of a paw
- Swelling, redness, bleeding, discharge, or an unusual odor
- A cracked, torn, or damaged nail
- A cut pad, blister, burn, or object lodged between the toes
- Sudden sensitivity in a dog who previously accepted paw wiping
- Reluctance to walk, climb stairs, jump, or stand
- Crying out when a leg or paw is touched
Look without bending the leg into an awkward position. If your dog will not allow an inspection, do not pin them down to complete one.
Contact your veterinarian promptly if you see an injury, bleeding, swelling, a damaged nail, possible chemical exposure, or sudden pain. Seek urgent veterinary guidance for uncontrolled bleeding, a deep wound, a possible fracture, severe swelling, or an inability to bear weight.
Build a low-conflict entry zone
The doorway combines several difficult things at once. Your dog may be excited from the walk, worried about being confined, and standing on a slippery surface while a person bends over them. Improve the setup before asking for any paw contact.
Choose a small entry area where mud can be contained without cornering the dog. Depending on your home, that might be a foyer, covered porch, mudroom, kitchen entrance, or section of the garage that is safe for pets.
Set it up with:
- A large, washable mat or runner with a nonslip backing
- A second absorbent mat for your dog to walk across
- An open towel placed flat on the floor
- A clean towel within your reach
- Small treats in a sealed container
- A washable barrier, such as a gate, positioned so it does not trap your dog against a wall
Remove shoes, cleaning chemicals, cords, and anything your dog could knock over. If you use a laundry or utility area, follow a thorough dog-proofing checklist before allowing your dog to wait there.
Keep the leash loose as you enter. A tight leash can make a hesitant dog feel trapped. Do not use the leash to pull your dog onto a towel or hold them in place while you grab a foot.
If your dog struggles to stand securely, check the floor. Smooth tile, wet concrete, and laminate can make paw lifting feel unsafe. A stable mat may improve cooperation more than a different cleaning tool.
Use the least intrusive cleaning method your dog tolerates
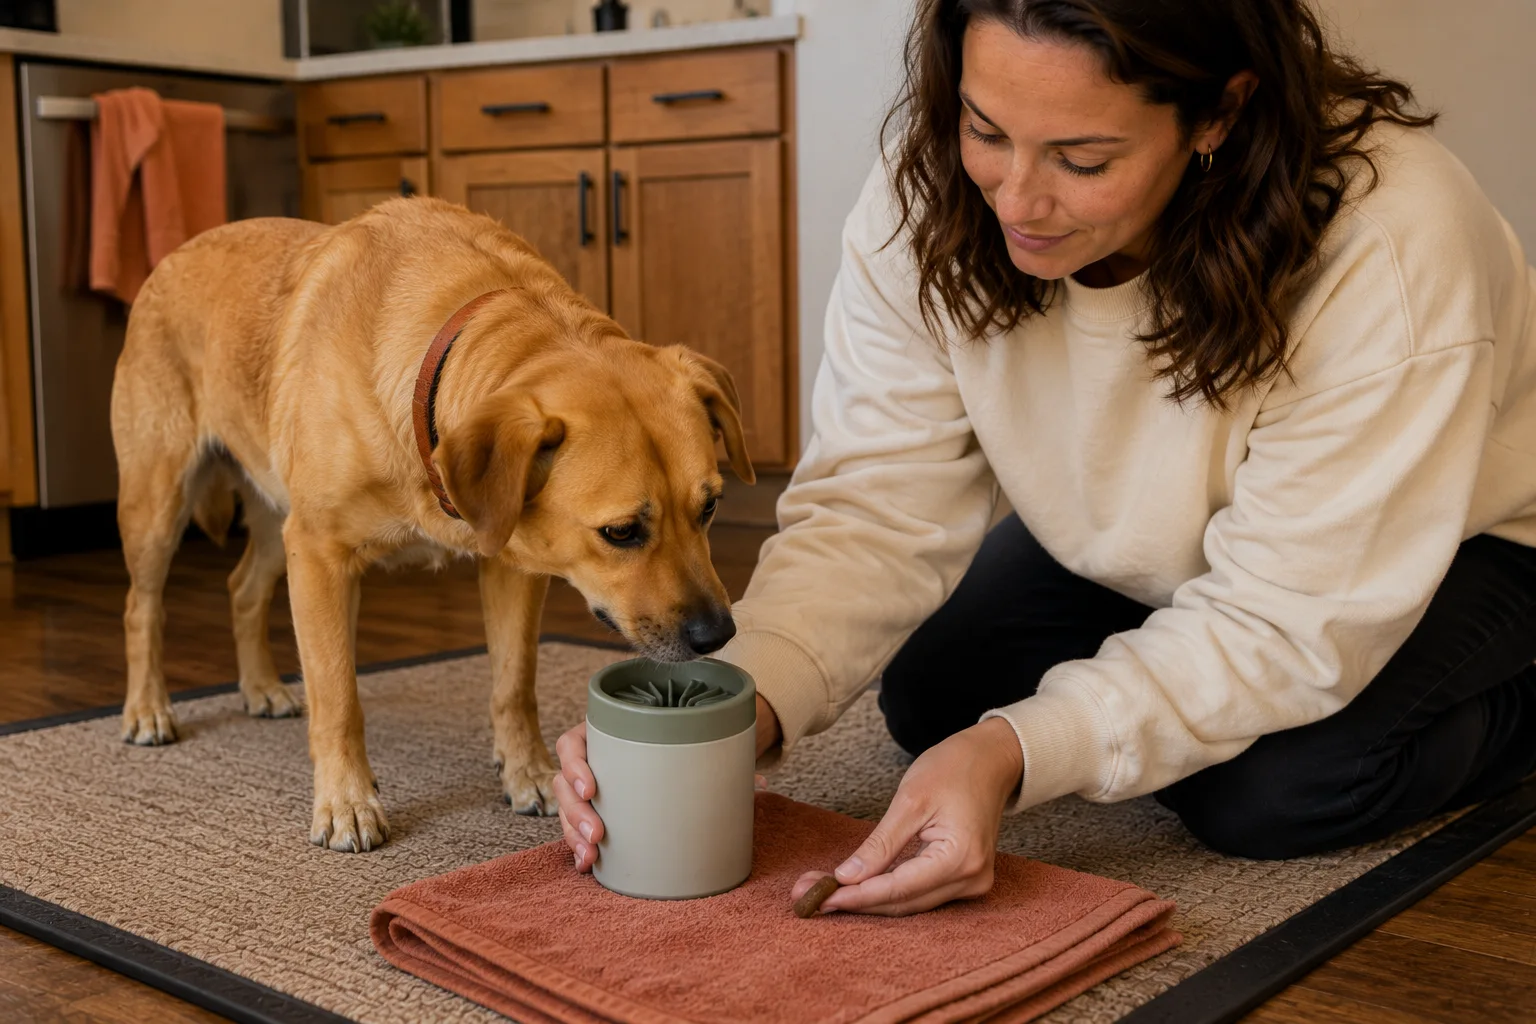
A perfectly clean paw is not the first goal. Choose the method that removes enough mud while keeping your dog below their stress threshold.
Walk across absorbent surfaces
For mild wetness, let your dog walk several steps across a long absorbent runner or two towels laid flat. Scatter a few treats ahead if your dog is comfortable eating. This will not clean between the toes, but it may remove enough water and surface dirt to protect the rest of the floor.
Blot while the paw stays on the floor
Instead of lifting a foot, gently press a folded towel against the top or side of the paw while it remains planted. Some dogs tolerate a brief blot better than rubbing, squeezing, or toe handling.
Approach from the side rather than leaning over your dog. Make one brief contact, offer a treat, and pause. If your dog moves away, let them.
Clean one or two paws, not all four
If your dog willingly permits one wipe, stop there. Completing fewer paws calmly is more useful for training than forcing the entire sequence. Use floor coverings to manage whatever mud remains.
Consider a cleaning cup only if your dog accepts paw placement
A paw-cleaning cup is optional, not a shortcut for a dog who fears handling. It requires placing each paw into a confined object, which some dogs find more difficult than a towel. If your dog already accepts this motion, compare portable dog paw cleaner options, measure paw width, and follow the manufacturer's cleaning instructions. Introduce the empty cup gradually before adding water.
Avoid scented wipes or household cleaning products unless your veterinarian confirms they are appropriate for canine skin. Plain lukewarm water and a soft towel are often sufficient for ordinary mud. Ask your veterinarian what to use after contact with road salt, lawn chemicals, fuel, paint, or another potential irritant.
Teach a voluntary towel station away from the door
Practice when your dog is dry, relaxed, and not urgently waiting for dinner or a bathroom break. A quiet living room or kitchen with secure footing is usually easier than the entryway after a stimulating walk.
Place a towel or bath mat on the floor. The first skill is simply choosing to step onto it.
- Put the towel down and stand nearby without pulling your dog toward it.
- When your dog looks at, sniffs, or steps toward the towel, mark the behavior with a calm “yes” or a click, then place a treat on or just beyond the towel.
- Reward one paw on the towel, then two paws, then standing on it.
- Release your dog by tossing a treat away and allowing them to leave.
- Repeat for 30 to 60 seconds, then put the towel away.
Do not lure your dog onto the towel and immediately grab a foot. That can make the towel predict restraint. For several sessions, let the station lead only to treats and an easy release.
If your dog will not take food, they may be too stressed, distracted, or full for that session. Increase distance, simplify the exercise, or try later. The same stress check used when a dog will not take treats outside can help you assess whether the environment is too difficult.
Build the paw-wiping sequence one step at a time
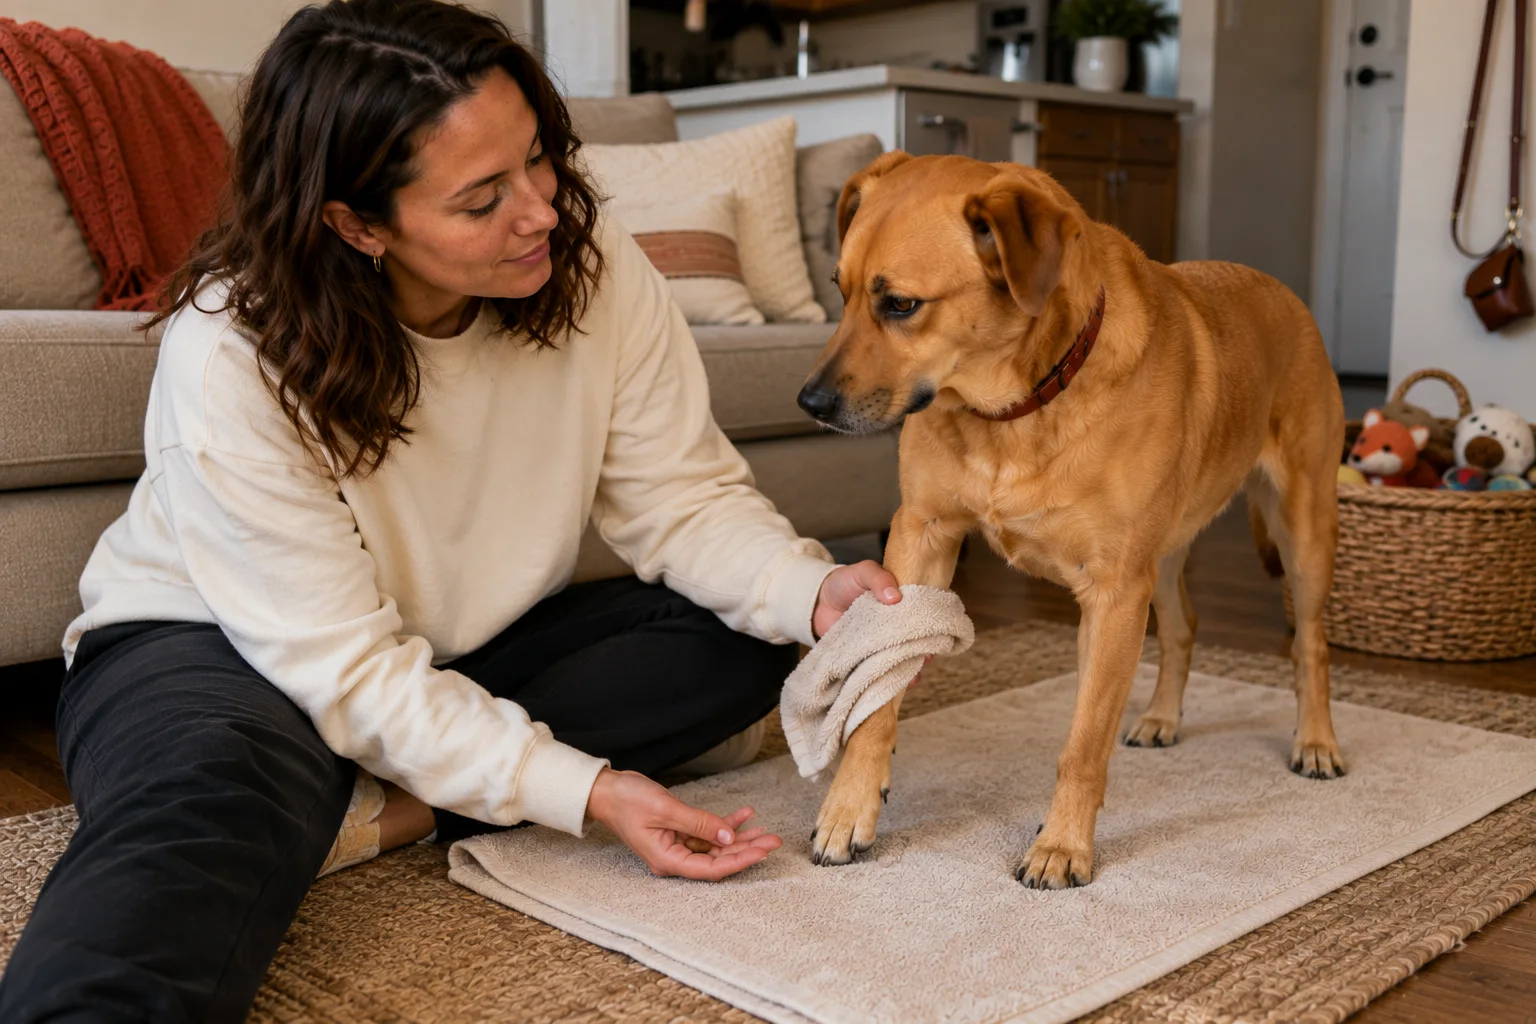
Once your dog readily stands on the towel, divide wiping into very small handling steps. Progress based on body language, not a calendar.
1. Let the towel appear
Pick up a second towel, show it briefly, mark, and give a treat. Put it behind your back or on a chair. Repeat until its movement does not prompt your dog to retreat.
Next, move the towel slightly toward your dog's shoulder, mark, reward, and move it away. You are teaching that the towel approaches briefly and then leaves.
2. Begin at the shoulder
Many dogs are more comfortable with shoulder contact than paw contact. Touch the shoulder lightly with your empty hand for one second, then mark and reward. If your dog remains loose and chooses to stay, work gradually down the leg over multiple repetitions or sessions.
Do not slide all the way from shoulder to paw in one motion. Practice separate points, such as shoulder, upper leg, lower leg, and the outside of the paw.
3. Add brief towel contact
Touch the shoulder with the folded towel, mark, reward, and remove it. Over time, move down the leg using the same gradual progression.
Keep the towel soft and dry during early practice. A cold or damp towel can feel different and should be introduced as a separate step later.
4. Touch the paw without lifting it
With your dog standing on a nonslip surface, touch the side or top of the paw for less than a second. Mark and reward. When your dog consistently stays relaxed, build to a gentle blot.
Avoid gripping around the ankle. A closed hand can feel like restraint even when you are not squeezing.
5. Practice one wipe
Make one short, gentle wiping motion on a planted paw. Mark, reward, and release your dog from the station. That is a complete successful repetition.
Build gradually from one wipe to two. Work on one paw before expecting all four. Paw lifting, toe spreading, and cleaning between pads are separate skills that may need their own training steps.
Several 30-second sessions are usually more productive than one long session. End while your dog is still comfortable rather than waiting for resistance.
Read early signs of discomfort
A dog does not need to growl for the answer to be “not right now.” Watch the whole body before, during, and after contact.
Early signs that the exercise is becoming difficult can include:
- Turning the head away
- Leaning or stepping away
- Pulling the paw back
- Closing the mouth suddenly
- Lip licking when food is not present
- Lowering the body or tail
- Pinning the ears back
- Becoming unusually still
- Refusing treats they normally want
Freezing deserves particular attention. A motionless dog is not necessarily giving permission. If their body becomes rigid, their eyes widen, or they stop responding, remove your hand and give them space.
Growling, air snapping, hard staring, frantic escape attempts, or contact with teeth indicate that the situation has escalated. Stop the session. Do not scold the warning or immediately try again with higher value food.
A two-minute wet-weather routine while training continues
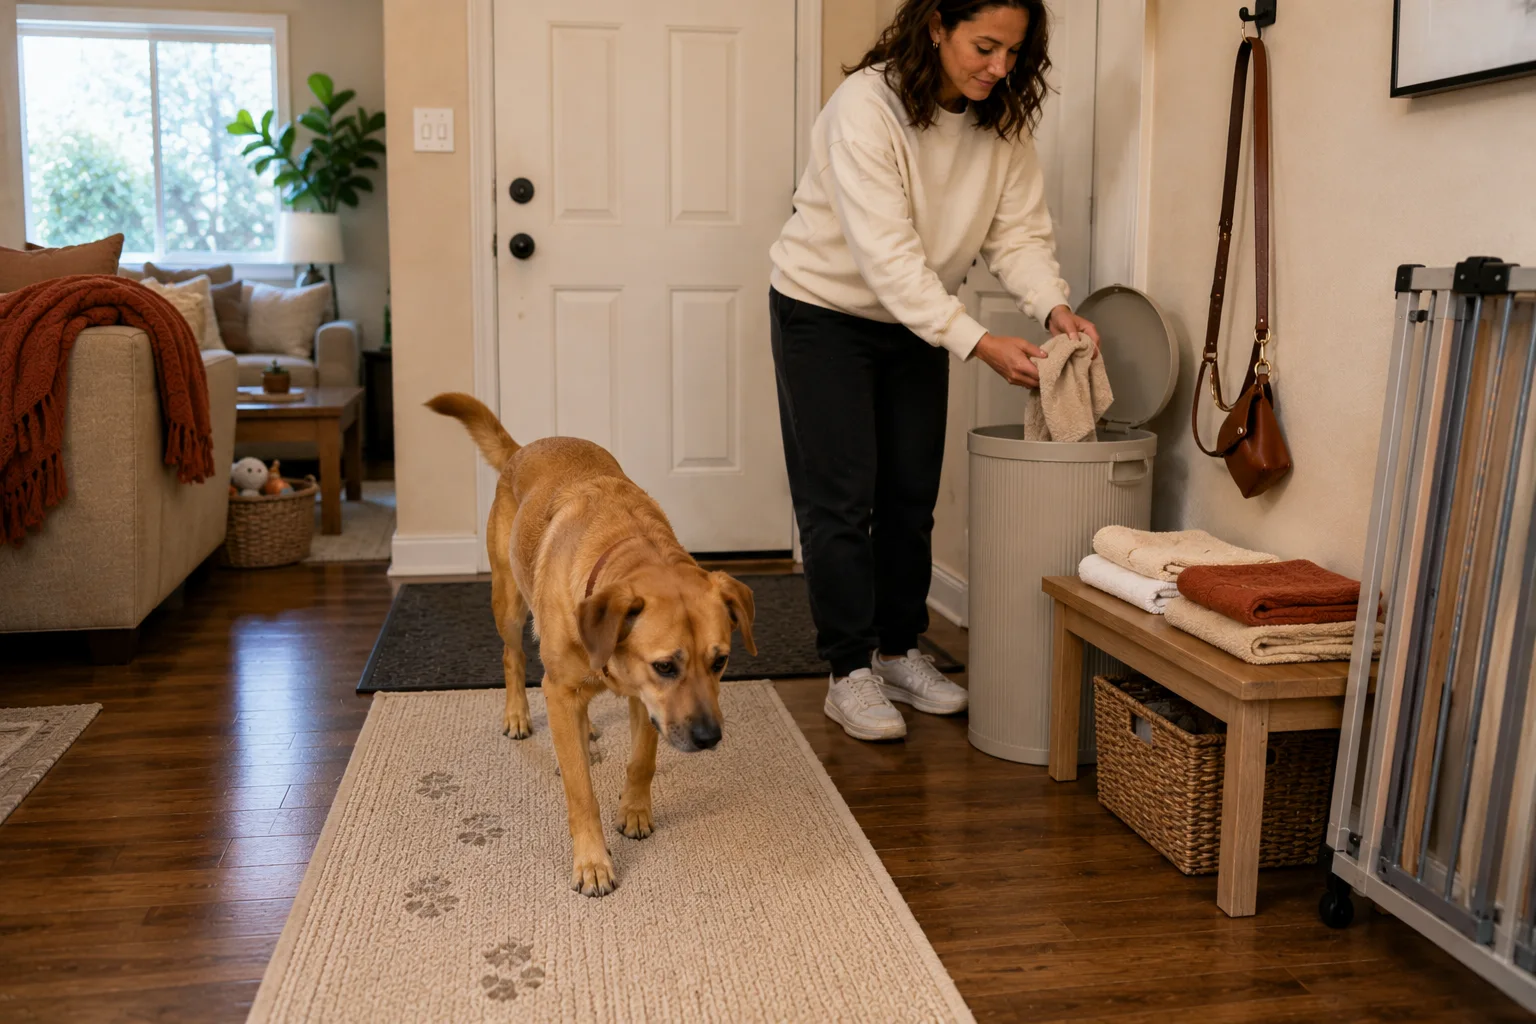
You still need a workable plan after rainy walks. Keep it predictable and short:
- Enter onto the large nonslip mat and loosen the leash.
- Let your dog walk across an absorbent runner or flat towel.
- Offer a few treats on the mat or use another calm activity your dog enjoys.
- Blot only the paws or legs your dog currently allows you to touch.
- Release your dog before they begin struggling.
- Close the gate or door temporarily, then mop the contained area after your dog leaves.
Keep a stack of washable towels and a lidded hamper nearby. If your dog has long furnishings around the feet, ask a groomer whether a practical trim could reduce the amount of mud carried indoors. Do not cut matted hair or hair close to the pads with scissors while your dog is moving.
For apartment hallways or shared entrances, follow building rules and keep a portable absorbent mat near your own doorway. Avoid blocking fire exits or leaving wet towels in communal areas.
When to involve a professional
Call your veterinarian when sensitivity is sudden, limited to one limb, accompanied by licking or limping, or associated with visible skin, pad, or nail changes. A veterinary exam should come before behavior training when pain may be contributing.
A skilled groomer may help with nail maintenance, excess foot hair, or a coat-care plan, but grooming should not replace a veterinary assessment of pain. Tell the groomer about your dog's behavior before the appointment and ask how they handle dogs who need breaks.
Seek a qualified reward-based trainer or behavior professional if your dog repeatedly freezes, growls, snaps, or panics during routine handling. Professional help is also appropriate if you feel unsafe or cannot make progress without restraint. Look for someone experienced in cooperative care who can coordinate with your veterinarian when needed.
The practical goal is not to make your dog tolerate anything at any cost. It is to keep your home manageable while teaching that brief, predictable handling is safe and that moving away will be respected.

Join the conversation
0 comments
Leave a comment
Your email address will not be published. Comments are reviewed before appearing.