
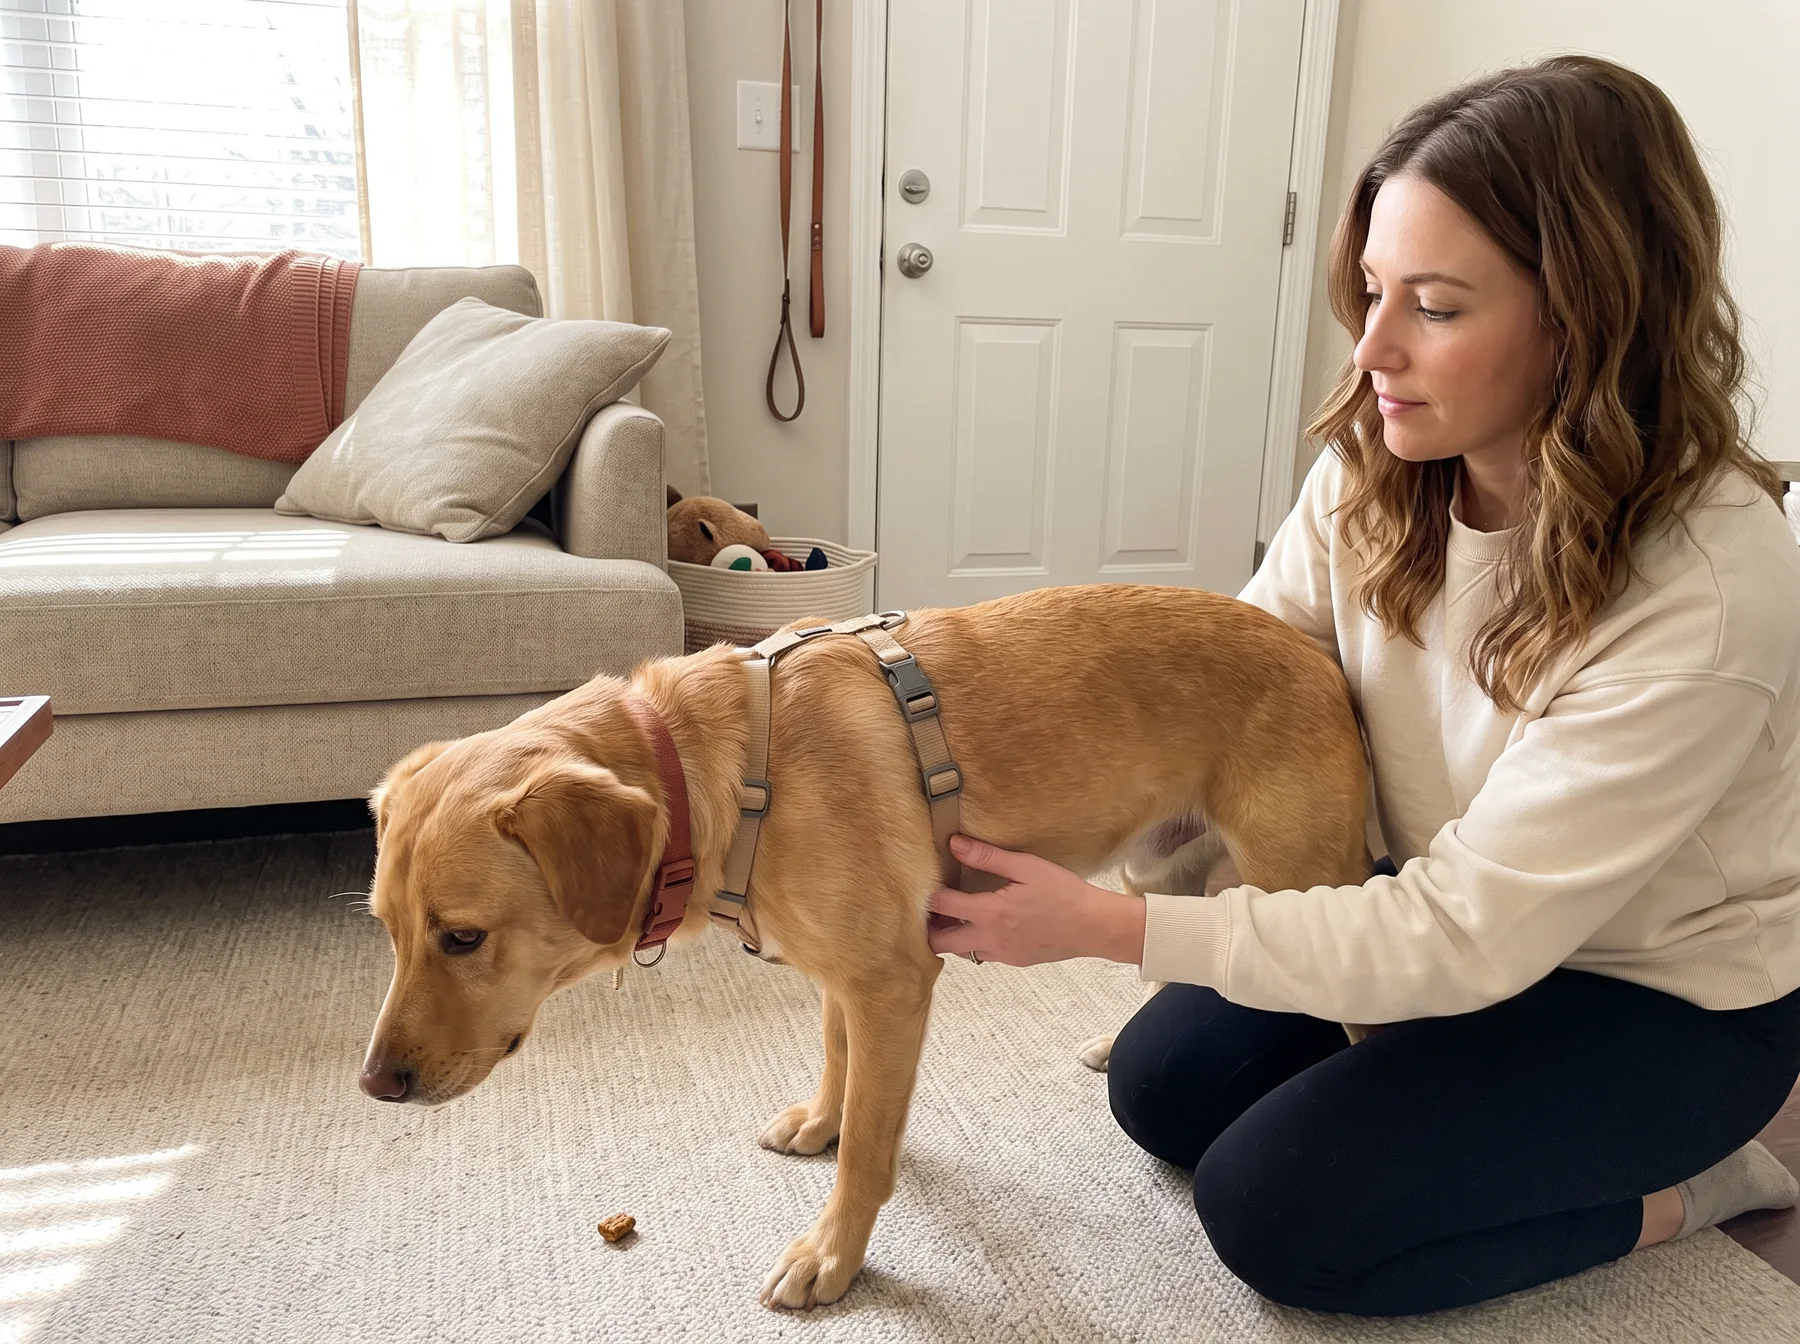
A harness can look secure while your dog is standing still, then shift when they sit, turn, lower their head, or step backward. If you have recently adopted your dog, you may not yet know how they move when startled or whether they tend to freeze, pull, spin, or back away from pressure.
So, how should a dog harness fit? It should stay in its intended position without pressing on the throat, cutting into the armpits, restricting the shoulders, or rotating significantly around the body. You should be able to slide your fingers under the straps, but the harness should not be loose enough for a leg or narrow part of the chest to slip through.
Before the first outdoor walk, perform this seven-point check in a quiet room. It will not make any harness escape-proof, but it can help you identify poor placement, restricted movement, discomfort, and obvious backing-out risk before you encounter an open door or a sudden noise.
Why harness fit deserves an indoor check before the first walk
A newly adopted dog may move differently at home than they did at the shelter, foster home, or meet-and-greet. They might crouch around unfamiliar sounds, plant their feet at the doorway, or reverse suddenly when they feel leash pressure. Thick fur can also hide twisted straps and loose gaps.
An indoor inspection gives you time to make adjustments without traffic, loose dogs, children, or other distractions nearby. It also lets your dog become familiar with the harness through short, low-pressure sessions.
If you do not have a securely fenced area, treat the first outdoor transition with extra care. Close exterior doors while fitting the harness, attach the leash before opening a door, and ask household members not to create avoidable commotion.
Before fitting: identify the parts and let your dog investigate
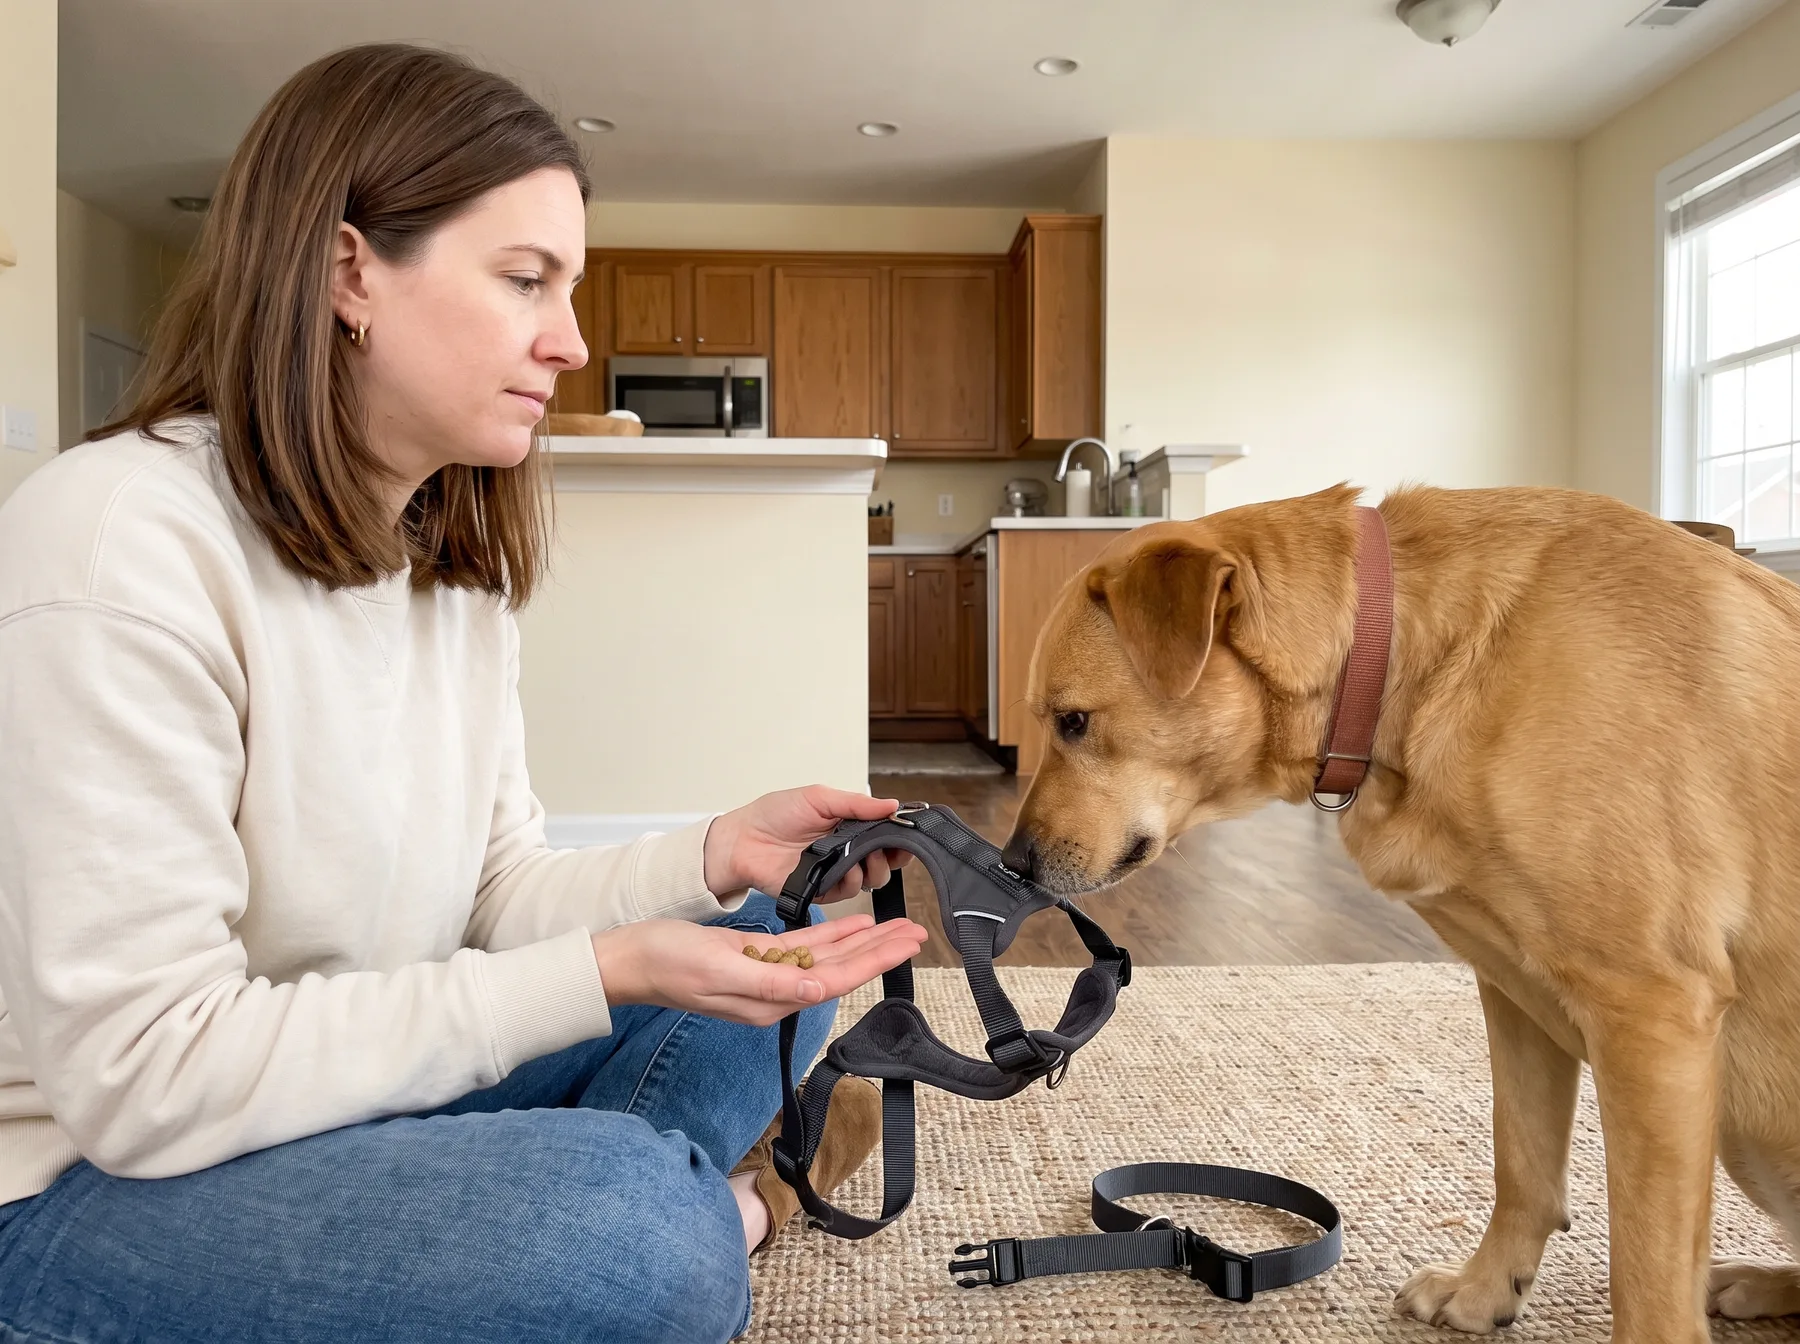
Look at the manufacturer’s diagram before putting the harness on your dog. Designs vary, but most include:
- A neck opening or straps that sit around the base of the neck
- A chest piece or front panel
- A girth strap that circles the rib cage behind the front legs
- One or more adjustment sliders
- Buckles
- A back leash attachment, front attachment, or both
Confirm which side faces up and which opening is intended for the head. On a step-in model, identify where each front paw goes. A twisted or backward harness may buckle successfully while placing pressure in the wrong areas.
Give your dog a chance to sniff the harness if they wish. Pair calm investigation with small treats or gentle praise. If the harness goes over the head, practice moving it toward the neck and away again rather than immediately pushing it over the ears. You can also offer a treat through the opening so your dog chooses to place their nose inside.
Keep the first session brief. If your dog repeatedly retreats, hides, freezes, growls, snaps, or becomes too worried to take food they would normally enjoy, stop. Do not restrain or chase them to put it on. A certified reward-based trainer or qualified behavior professional can help you build a gradual introduction plan. Sudden sensitivity around the neck, shoulders, spine, or legs also warrants veterinary guidance because pain may contribute to the reaction.
How should a dog harness fit? The seven-point indoor check
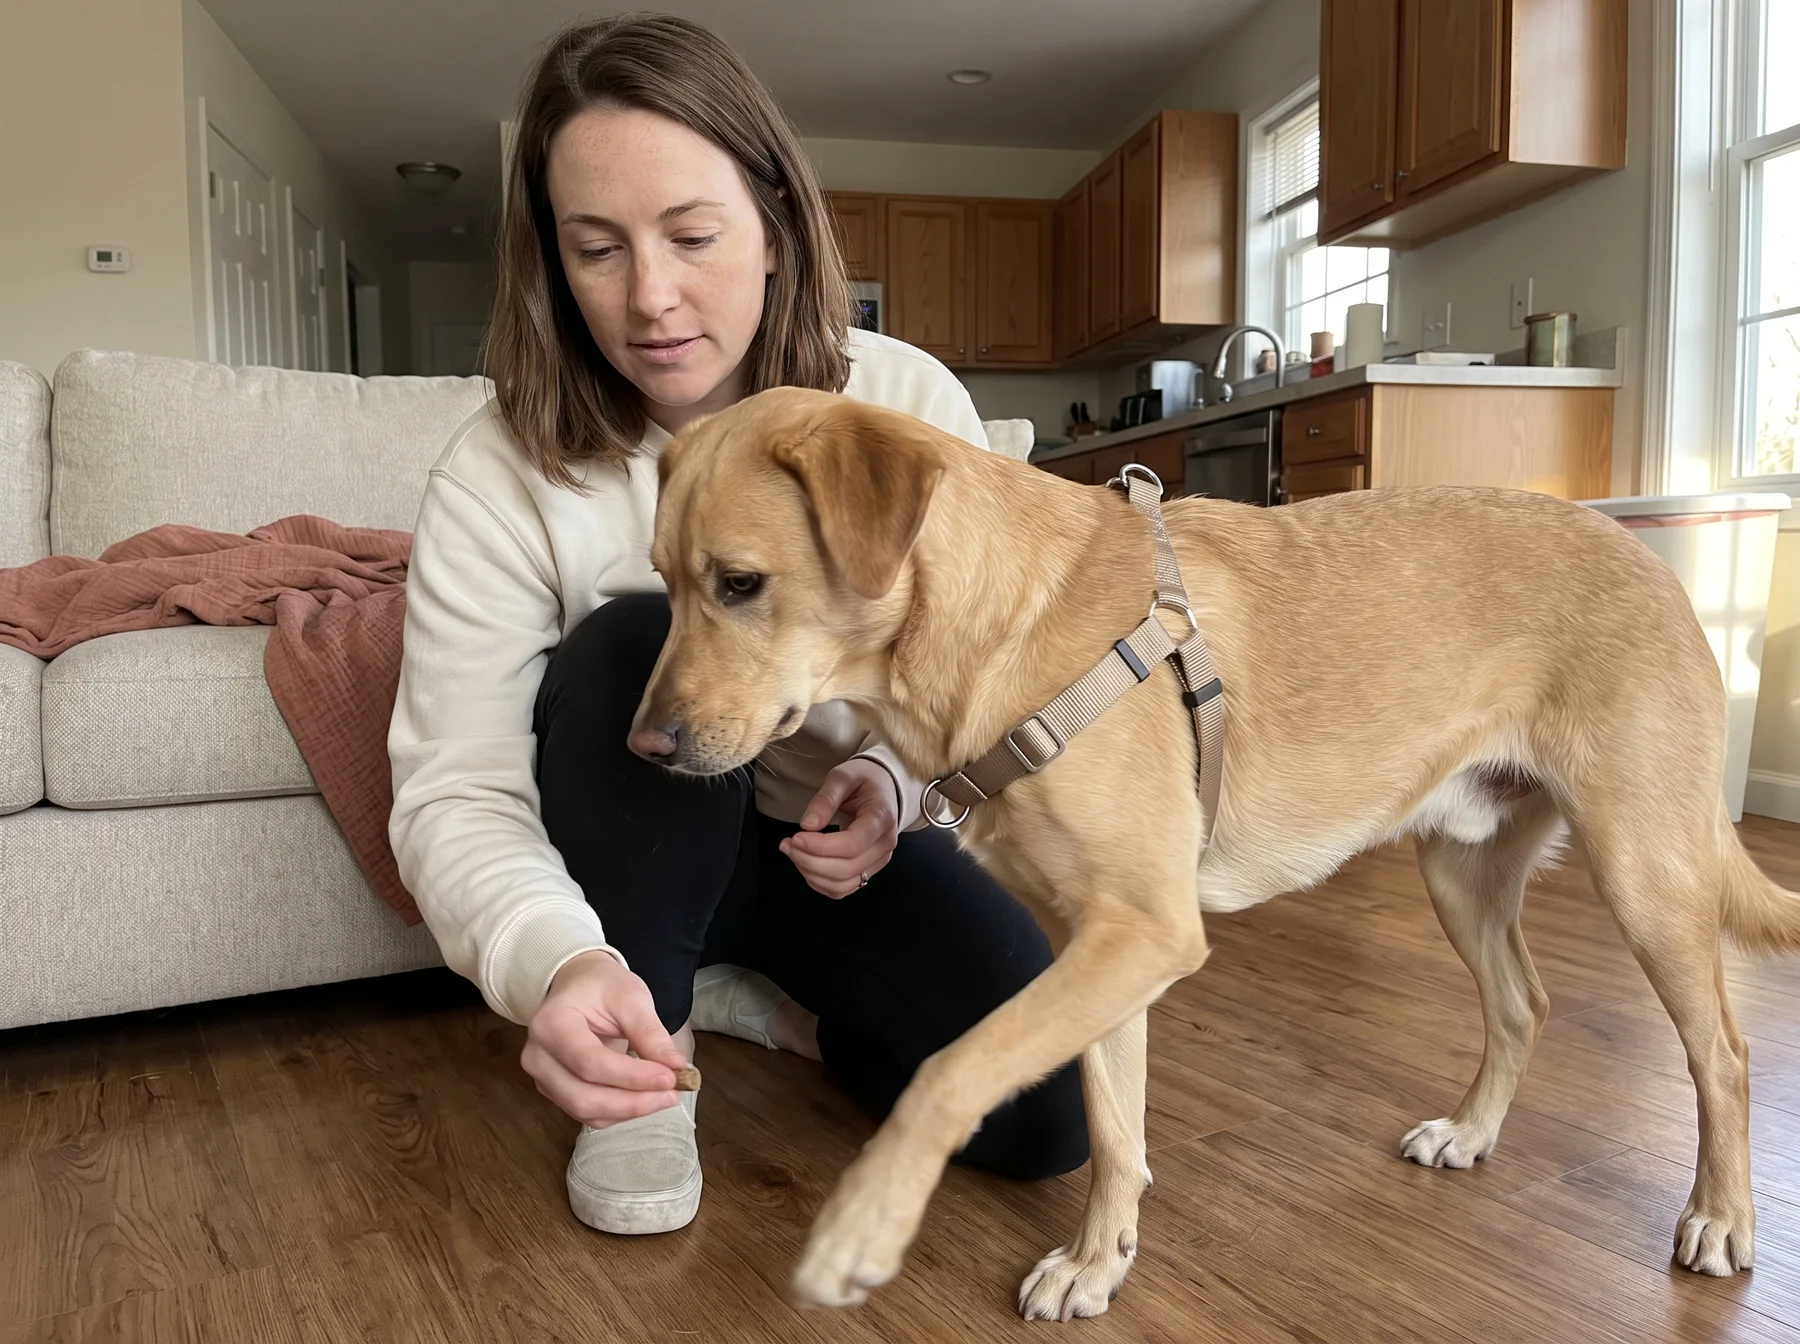
Use the following inspection after fastening every buckle. Remove the leash at first, provided you are in a closed, secure room. This prevents accidental tension while you make adjustments.
1. Confirm the harness is facing the right direction
Compare the fitted harness with the manufacturer’s instructions or product diagram. Check that:
- The chest panel is centered rather than pulled toward one shoulder
- The girth strap passes behind the front legs and around the rib cage
- Each buckle lies in its intended position
- No strap is twisted
- The leash attachment sits where the maker intended
Run your hand along every strap from one connection point to the next. This is often easier than judging orientation through long or curly fur.
If your harness has front and back attachment points, do not assume the front ring belongs directly over the throat. It generally sits at the front of the chest according to the product design. Consult the instructions if you are uncertain.
2. Check the size against body measurements, not weight alone
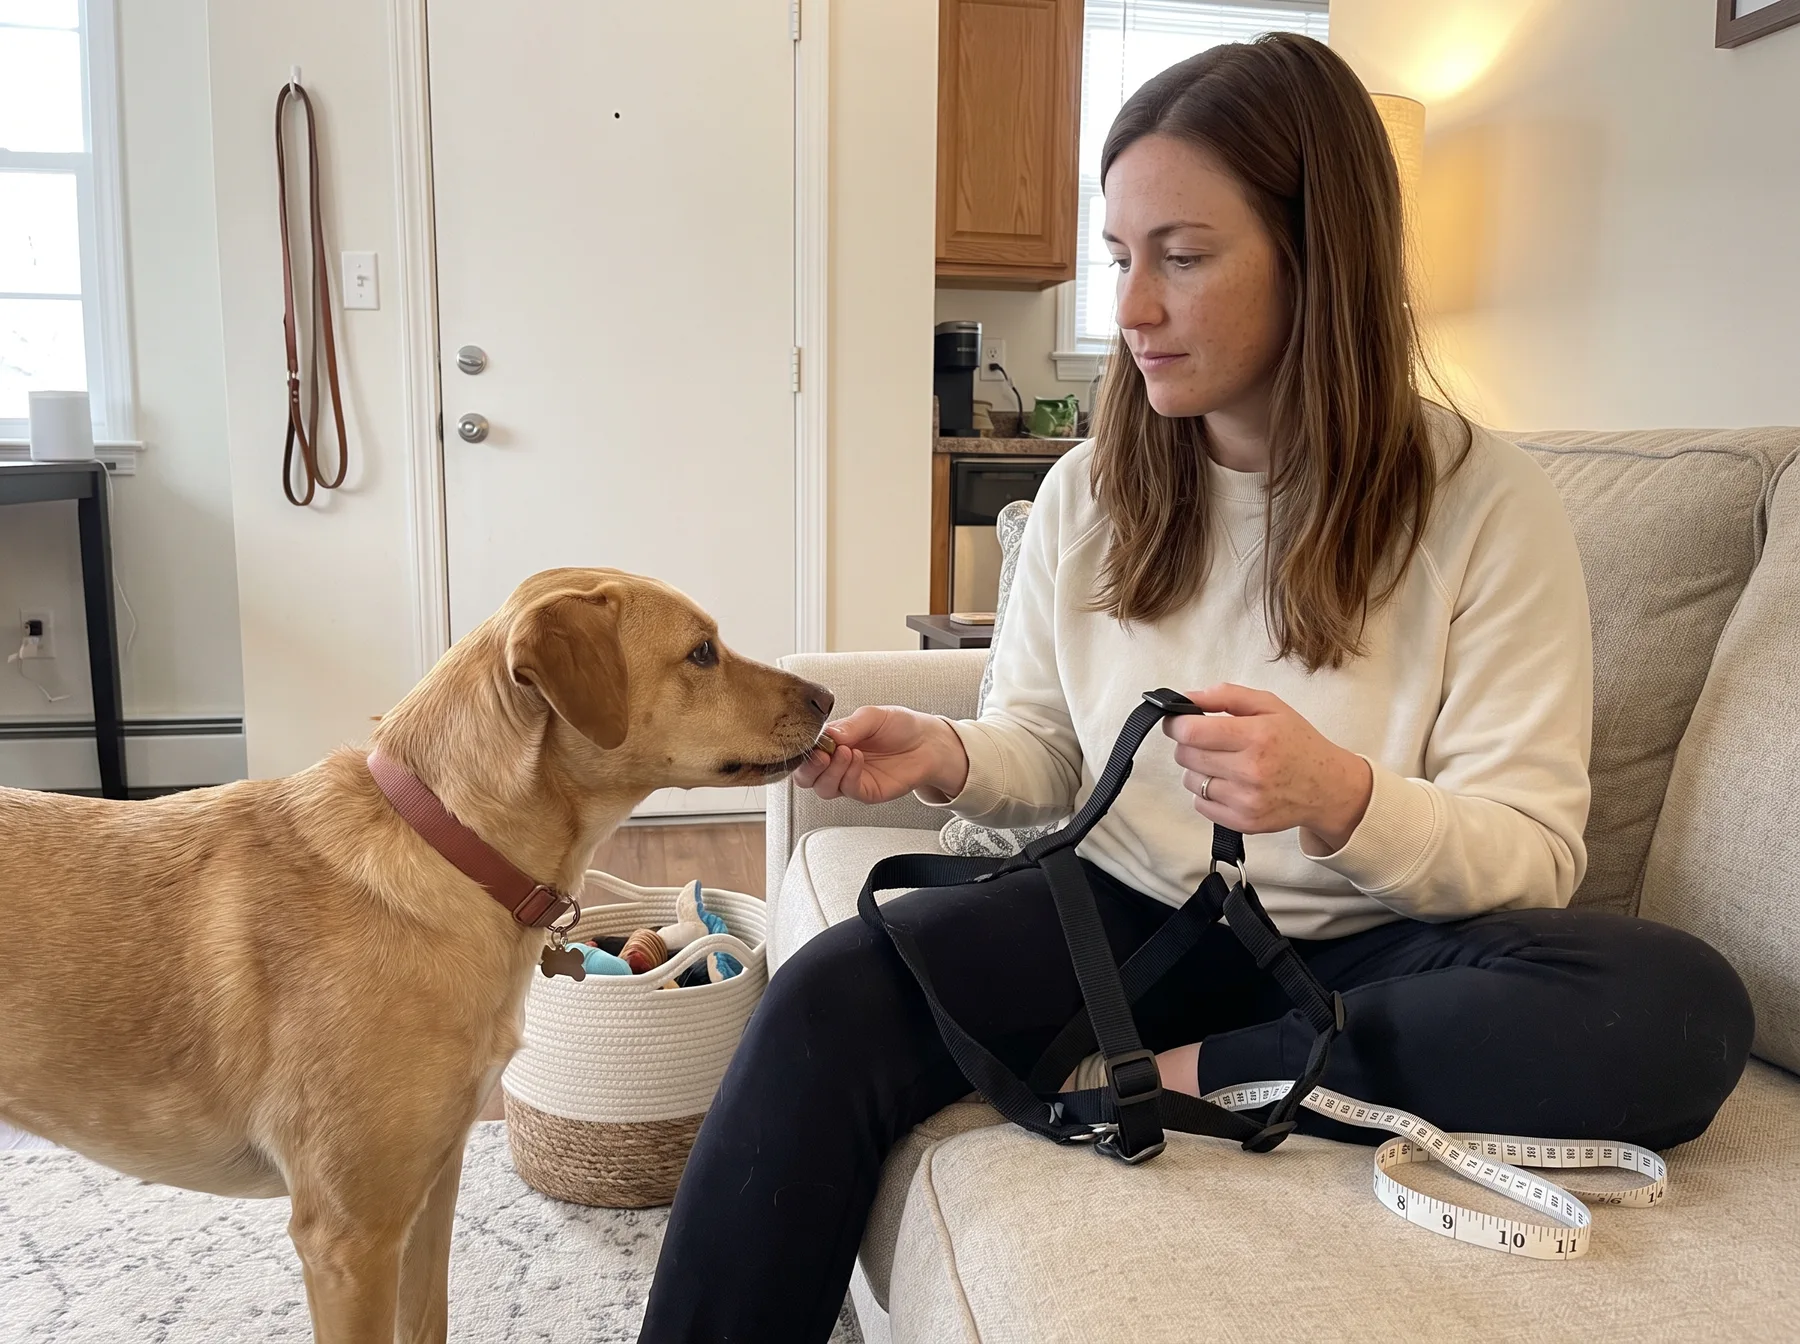
Dogs of the same weight can have very different necks, rib cages, and body proportions. Measure your dog and compare the numbers with the specific manufacturer’s chart for the harness you own.
Depending on the design, you may need:
- Neck or lower-neck circumference
- Chest girth around the widest part of the rib cage
- Body length or other model-specific measurements
Use a soft measuring tape and keep it level without pulling it tight. If your dog falls between sizes, follow the maker’s guidance rather than assuming the larger or smaller option will work. Check whether all required measurements fall within the adjustment range.
If you need a different style, adjustable front-clip dog harness options are one category to consider. A front attachment can help redirect some dogs during leash training, but it does not replace reward-based walking practice, and the manufacturer’s size chart still matters.
3. Assess snugness around the neck and chest
A common starting check is whether you can slide one or two flat fingers under each strap. Treat that as a practical inspection method, not a universal rule. Finger sizes, dog sizes, coat thickness, and harness designs differ.
The straps should make light, even contact without pinching. Look for these signs of a poor fit:
- A visible gap that allows the harness to lift well away from the body
- Skin bulging strongly around a strap
- Fur trapped painfully in a buckle
- A neck opening that slides toward the ears when gentle pressure is applied
- A girth strap that can move over the widest part of the rib cage
Check both sides instead of adjusting by sight from above. Some harnesses have several adjustment points, and changing one strap can pull the chest panel off center. Adjust gradually, alternating sides where the design permits.
Very small dogs need an especially careful touch because two adult fingers may represent a large gap on a narrow body. Deep-chested dogs, broad-headed dogs, and dogs whose neck and head have similar circumferences may also require a different harness shape rather than tighter straps.
4. Keep straps clear of the throat, elbows, and armpits
The front of the harness should distribute pressure across the chest as designed, not ride up against the windpipe. Ask your dog to lower their head toward a treat on the floor. Watch whether the neckline moves into the throat or presses under the jaw.
Next, inspect the girth strap behind each front leg. It needs enough clearance that the elbow does not strike or rub it with every step. At the same time, it should not sit so far back that it rests on the soft abdomen instead of the rib cage.
Reach gently into the armpit area and check for folded skin, caught fur, or a strap edge pressing into a crease. Pay extra attention to short-coated dogs, whose skin has little protection from friction, and long-coated dogs, whose fur can conceal poor strap placement.
Some harness shapes simply do not match some bodies. If correct strap adjustment cannot provide throat and elbow clearance at the same time, try a different size or design rather than making the existing harness excessively tight.
5. Watch your dog walk, turn, sit, and lower their head
A standing fit check is only the beginning. Encourage your dog to move naturally around the room with treats or a toy. Do not pull them into position.
Watch from the front, side, and behind as your dog:
- Walks in a straight line
- Turns in both directions
- Sits, if sitting is comfortable for them
- Lowers their head to sniff or take a treat
- Steps over a low threshold, if appropriate for their mobility
The harness should remain centered and allow the front legs and shoulder blades to move without obvious interference. Look for shortened steps, elbows pushed outward, hesitation to move, or straps that saw back and forth across the armpits.
Some mild movement is normal, particularly with softer harnesses. Significant rotation, such as the chest panel sliding toward the side of the rib cage, suggests uneven adjustment, an unsuitable leash attachment for that moment, or a shape mismatch.
Take your dog’s age and physical condition into account. Puppies grow quickly. Senior dogs and dogs with arthritis, previous injuries, or limited mobility may need a design that is easy to put on and does not require lifting or bending a painful leg. Ask your veterinarian for guidance if movement changes appear related to discomfort.
6. Perform a gentle indoor reverse-direction test
Dogs sometimes back out of harnesses when a sound, person, doorway, or leash sensation worries them. You can check for an obvious escape route indoors without frightening your dog.
Attach the leash in a closed room. Hold it steadily with slack rather than pulling. Have another adult offer treats, or toss a treat a short distance behind your dog so they turn and take one or two steps away from you. Apply only enough steady leash tension to observe how the harness responds.
Stop immediately if your dog panics, thrashes, freezes, or becomes distressed. Never jerk the leash or deliberately try to drag your dog out of the harness.
As your dog steps backward, watch for:
- The neck opening sliding over the ears or toward the narrowest part of the head
- A front leg slipping through the neck opening or another gap
- The girth strap moving forward over the widest part of the rib cage
- Buckles or adjustment sliders shifting
- The entire harness folding, twisting, or turning sideways
If any part begins to slip, release the tension and reassess the fit. Tightening may help if the harness was plainly loose, but do not keep tightening until it restricts breathing or movement. A different size, an additional adjustment point, or a different harness shape may be needed.
7. Inspect for rubbing, loosened adjusters, and body changes
Remove the harness after the movement test and part your dog’s fur along every contact point. Look around the chest, neck, shoulders, sternum, armpits, and rib cage.
Redness, damp fur, hair loss, abrasions, or tenderness are reasons to stop using the harness until you identify the cause. Contact your veterinarian if the skin is broken, swollen, painful, or not improving. Do not place the same rubbing strap over irritated skin.
Check the adjustment sliders before each walk during the first week. Some can shift as a dog moves, particularly if a strap has not been threaded correctly. Confirm that buckles close fully and that stitching, webbing, and leash rings show no visible damage.
Recheck the entire fit after:
- Grooming or a major haircut
- Weight gain or loss
- Growth in a puppy or adolescent dog
- A change in coat thickness
- Washing the harness
- Any incident in which the harness twists or nearly comes off
Fit can change gradually, so a harness that worked last month should not be assumed to fit today.
What to do when the fit is not right
If the harness rotates
First, center the chest piece and check whether corresponding straps are adjusted evenly. Then repeat the movement check without leash tension. If it stays centered until the leash is attached, the attachment point and direction of pressure may be contributing.
A small amount of shifting may be expected, but frequent sideways rotation can create rubbing and poor control. If adjustment does not solve it, the harness shape may not suit your dog’s proportions.
If it restricts movement
Loosen and reposition the straps according to the instructions. Make sure no horizontal strap crosses directly over the moving part of the shoulder unless that placement is part of the intended design and does not affect the dog’s gait.
If your dog continues to shorten their stride or avoid movement, remove the harness. Try a different size or construction, and consult your veterinarian if the unusual movement persists without the harness.
If your dog becomes distressed
Pause the fitting session. Let your dog move away, and avoid holding them still while you continue adjusting. Later, break the process into smaller steps, such as looking at the harness, touching it with the nose, placing the head through briefly, and wearing it unbuckled for a moment.
A trainer who uses reward-based methods can help if your dog is very worried about handling or equipment. Seek prompt professional support if attempts to fit the harness lead to intense fear or defensive behavior.
If your dog can still back out
Do not test harder. Recheck the instructions, measurements, strap placement, and adjustment range. If the harness cannot stay on during a calm, gentle indoor test, it is not appropriate for an outdoor walk in its current configuration.
Some dogs need a harness with more adjustment points or an additional body strap. For a newly adopted dog with known escape behavior, ask the rescue organization, foster caregiver, veterinarian, or qualified trainer about a secure handling setup. Depending on the dog and local environment, that may include a properly fitted backup connection between separately fitted pieces of equipment. A backup should not tangle around the legs or place all pressure on the neck.
Before you open the door
Run your fingers under the straps one final time. Confirm that each buckle is closed, the leash is attached to the intended ring, and the harness remains centered when your dog turns and lowers their head. Bring high-value treats, choose a quiet route, and keep the first walk short enough that you can observe your dog rather than push for distance.
Your new dog may need several calm indoor sessions before wearing the harness comfortably. That is useful information, not a failure. Careful fitting and gradual practice help you choose equipment based on the dog in front of you, including their body shape, mobility, comfort, and response to unfamiliar situations.
Join the conversation
0 comments
Leave a comment
Your email address will not be published. Comments are reviewed before appearing.